Professional Wood Floor Sanding: A Step Towards Elegant Living
Ah, wooden floors. A timeless classic, as British as tea and crumpets, yet undeniably global in their appeal. They exude warmth, elegance, and character—until, of course, they’re scratched, scuffed, and more beaten up than a second-hand market bargain. But here’s the thing: beneath those layers of grime, wear, and neglect lies the potential to transform your home.
Yes, we’re talking about wood floor sanding and restoration—a magical process that can breathe life into even the most battered boards. Let’s embark on a journey to uncover how this simple yet transformative service can turn your shabby flooring into a showpiece.
The Timeless Allure of Wooden Floors
Before we dive into the nuts and bolts (or grains and planks, as it were), let’s talk about why wooden floors are so universally adored.
- Aesthetic Appeal: Wooden floors are versatile. Whether you’re a fan of rustic charm or contemporary chic, they fit in seamlessly.
- Durability: Unlike carpets or laminates, wooden floors are built to last. With proper care, they can outlive generations.
- Eco-Friendly Elegance: Opting for restoration rather than replacement is kinder to the planet and your wallet.
But even the most durable floors need a little TLC now and then.
Why Sanding and Restoration?
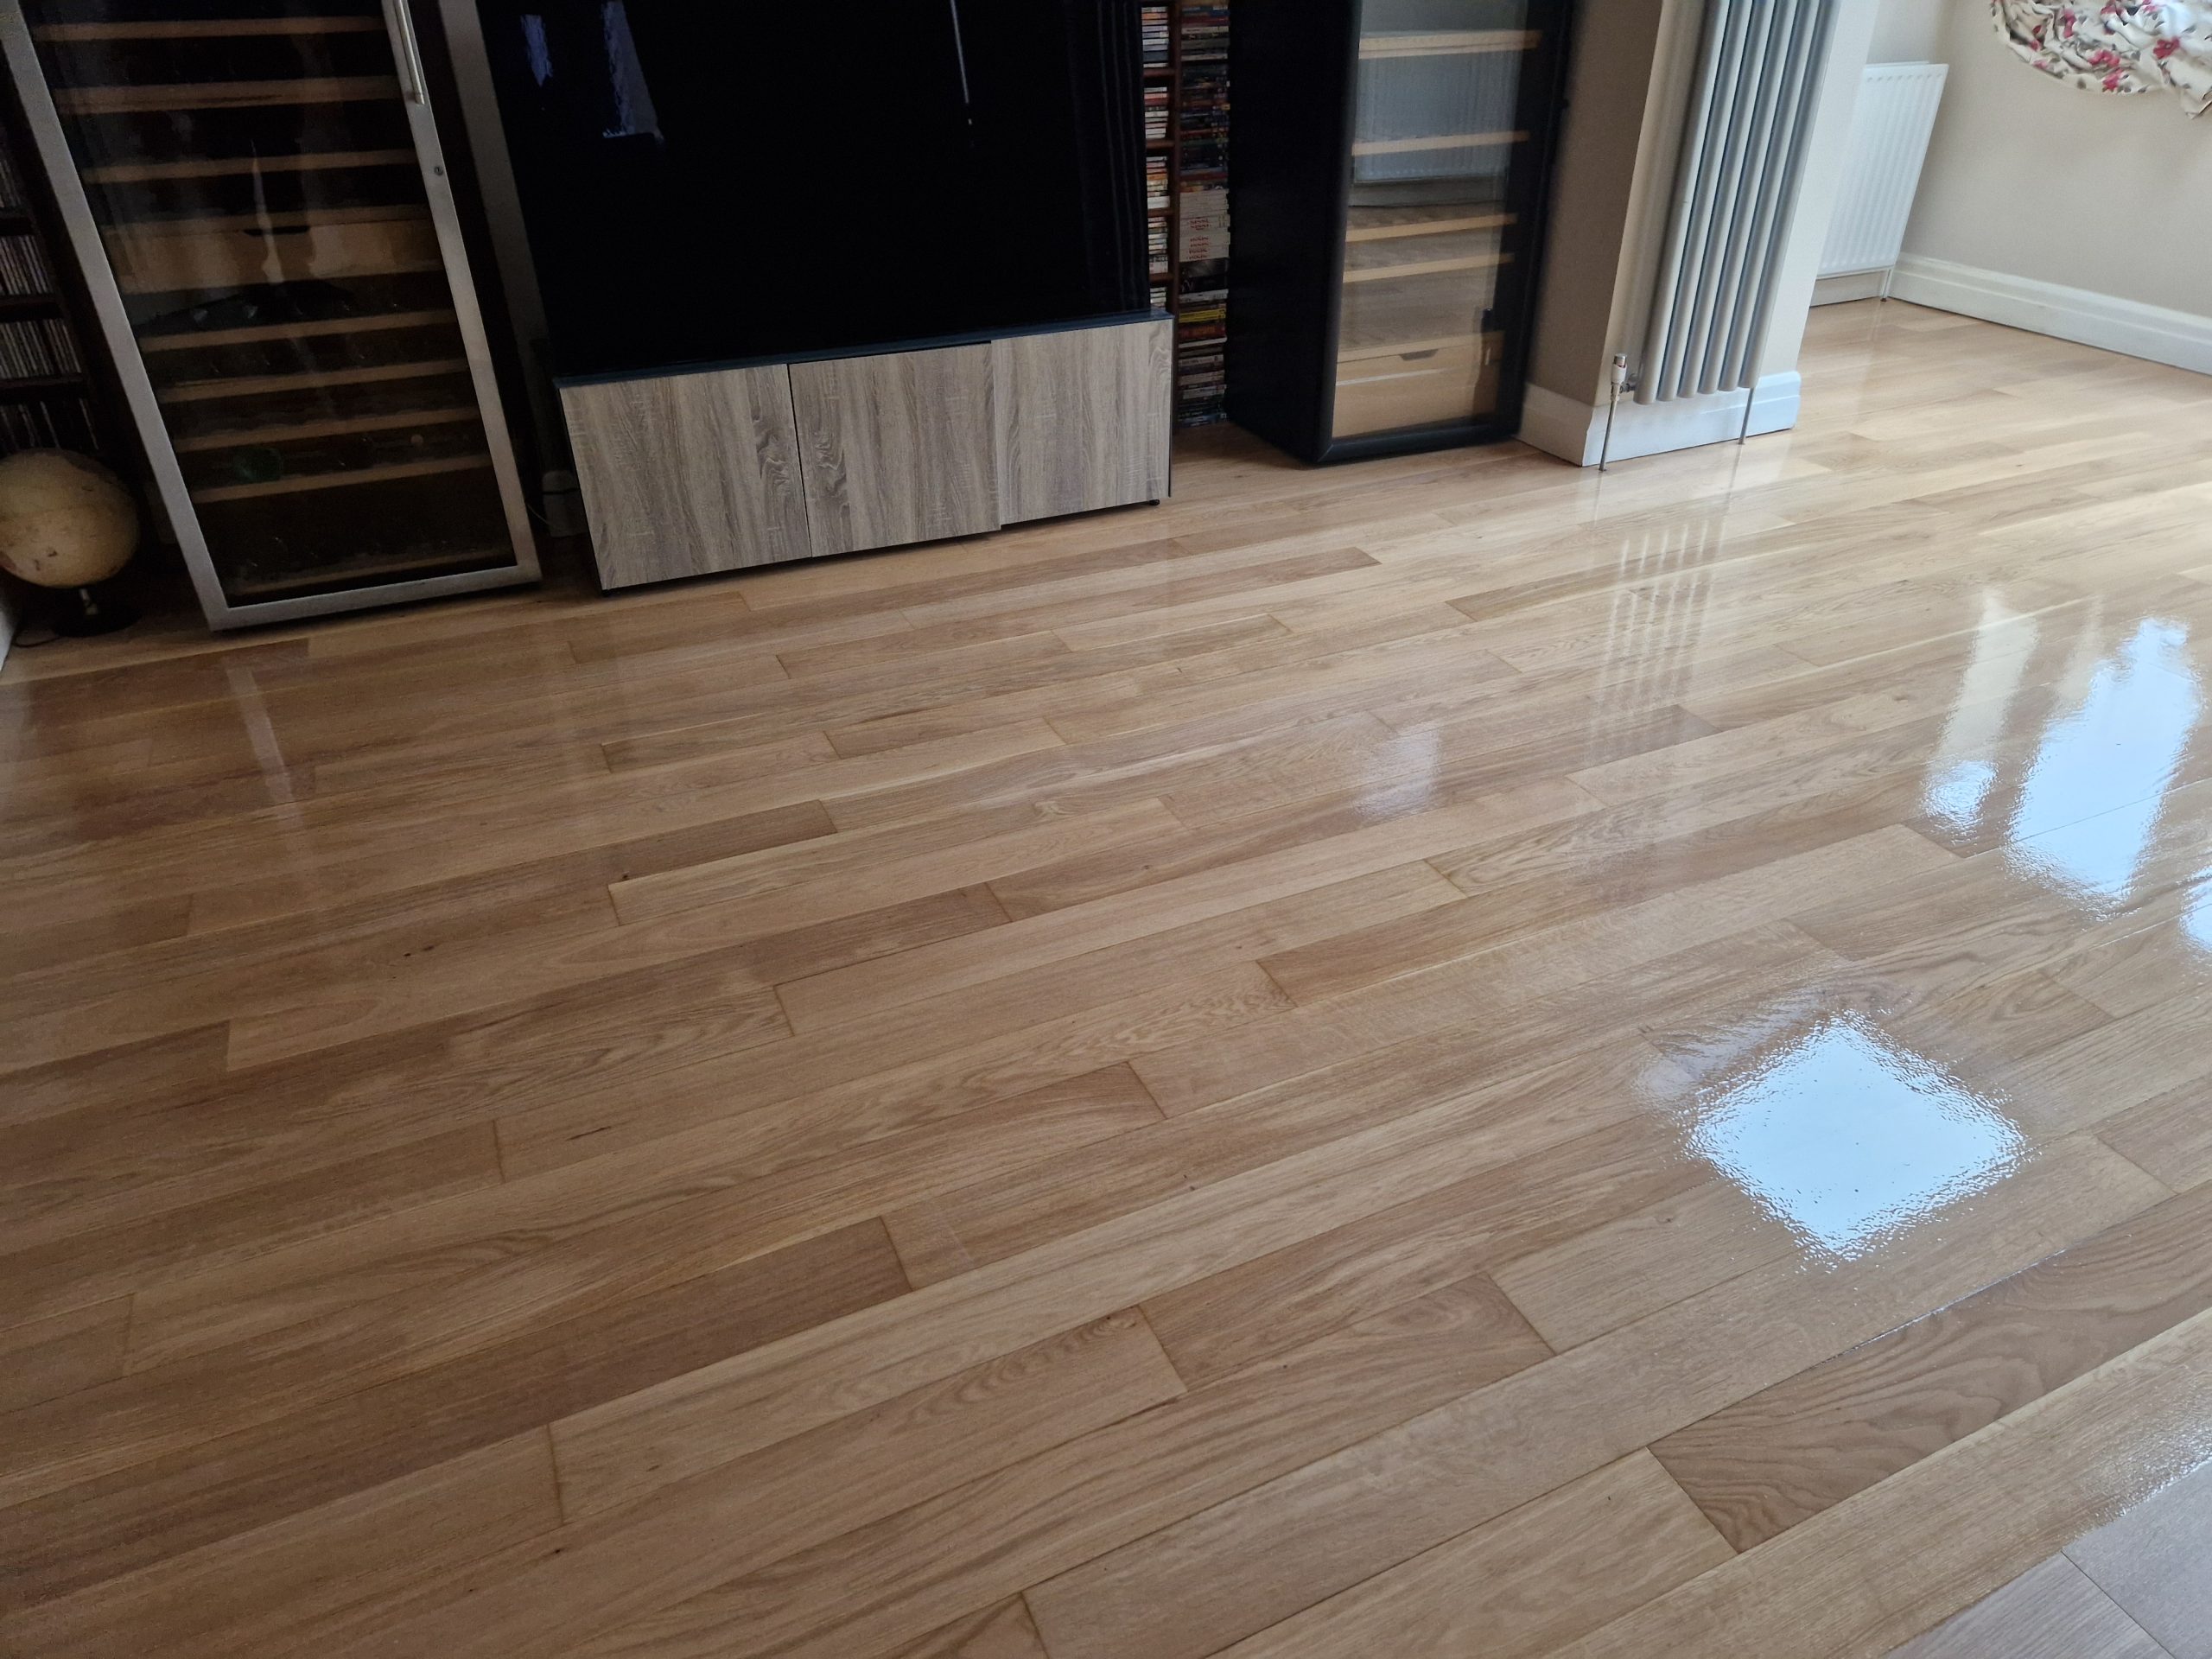
Here’s the truth about wooden floors: they’re a bit like a classic car. They look fabulous when polished but can quickly lose their shine without upkeep. Floor sanding and restoration are the secret weapons to:
- Eliminate Imperfections: Scratches, dents, and stains—gone.
- Enhance Appearance: Restore the natural beauty of the wood, making it gleam like it’s fresh from the showroom.
- Increase Longevity: Proper restoration can add years, if not decades, to the life of your floor.
Now, let’s get down to the process.
Step 1: Assessment – Knowing What You’re Working With
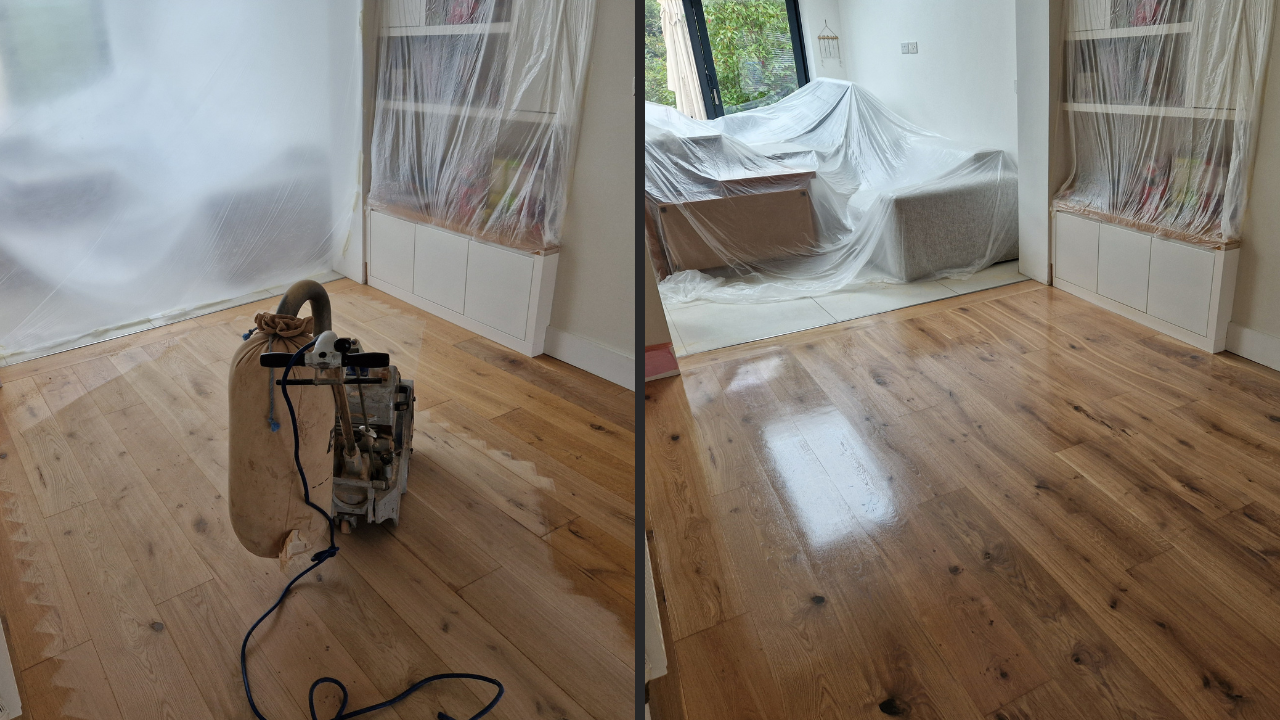
Before charging in with sanders and varnishes, it’s vital to assess your floor’s condition.
- Identify the Wood Type: Oak? Pine? Mahogany? Each type has its quirks, and knowing what you’re working with will influence your approach.
- Check for Damage: Look for loose boards, deep scratches, or rot. These issues need addressing before sanding begins.
- Consider Previous Finishes: Is there varnish, wax, or paint on the surface? Stripping these away is part of the prep.

Step 2: Preparation – The Key to Perfection
If there’s one golden rule in restoration, it’s this: preparation is everything. Here’s how to prep like a pro:
- Clear the Room: Move furniture, rugs, and any other obstructions. Trust me, you don’t want to navigate around Aunt Mildred’s antique rocking chair while wielding a sander.
- Repair the Damage: Replace loose boards, fill gaps with wood filler, and fix squeaky sections. A solid foundation is non-negotiable.
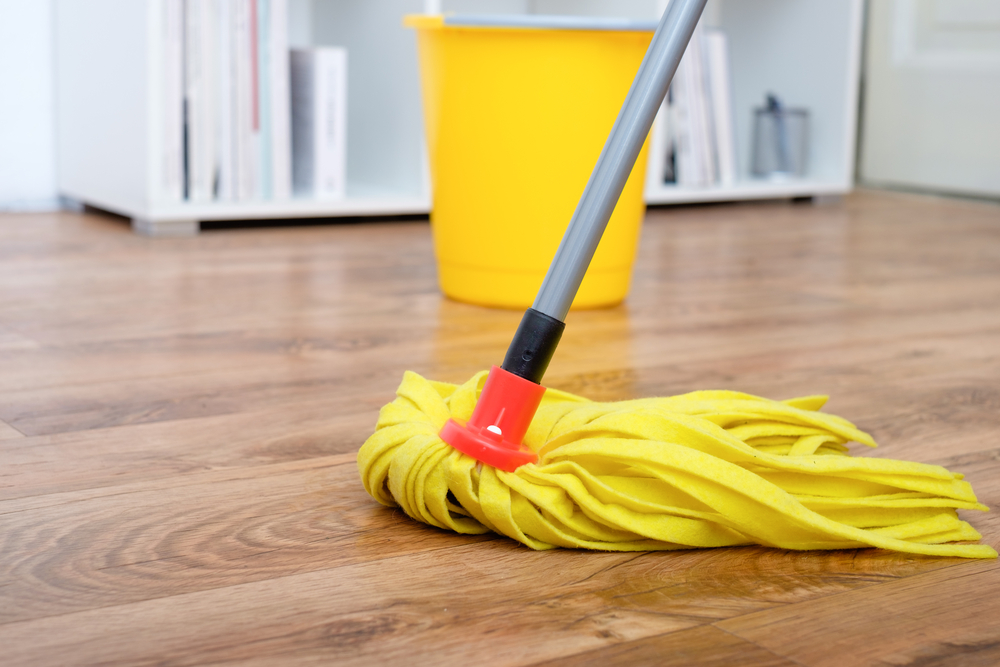
- Clean Thoroughly: Dust and debris are your enemies. Sweep, vacuum, and mop the floor to ensure a clean surface.
Step 3: Sanding – The Art of a Smooth Surface
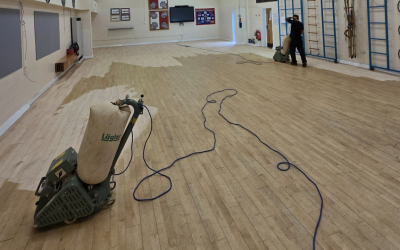
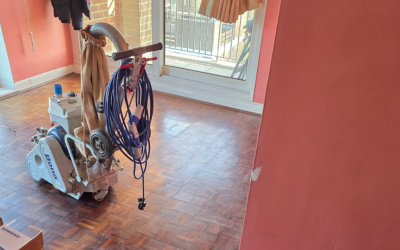
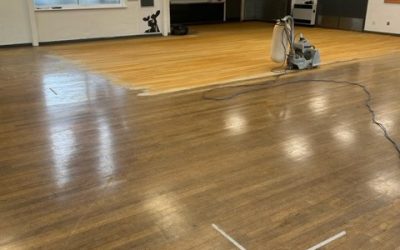
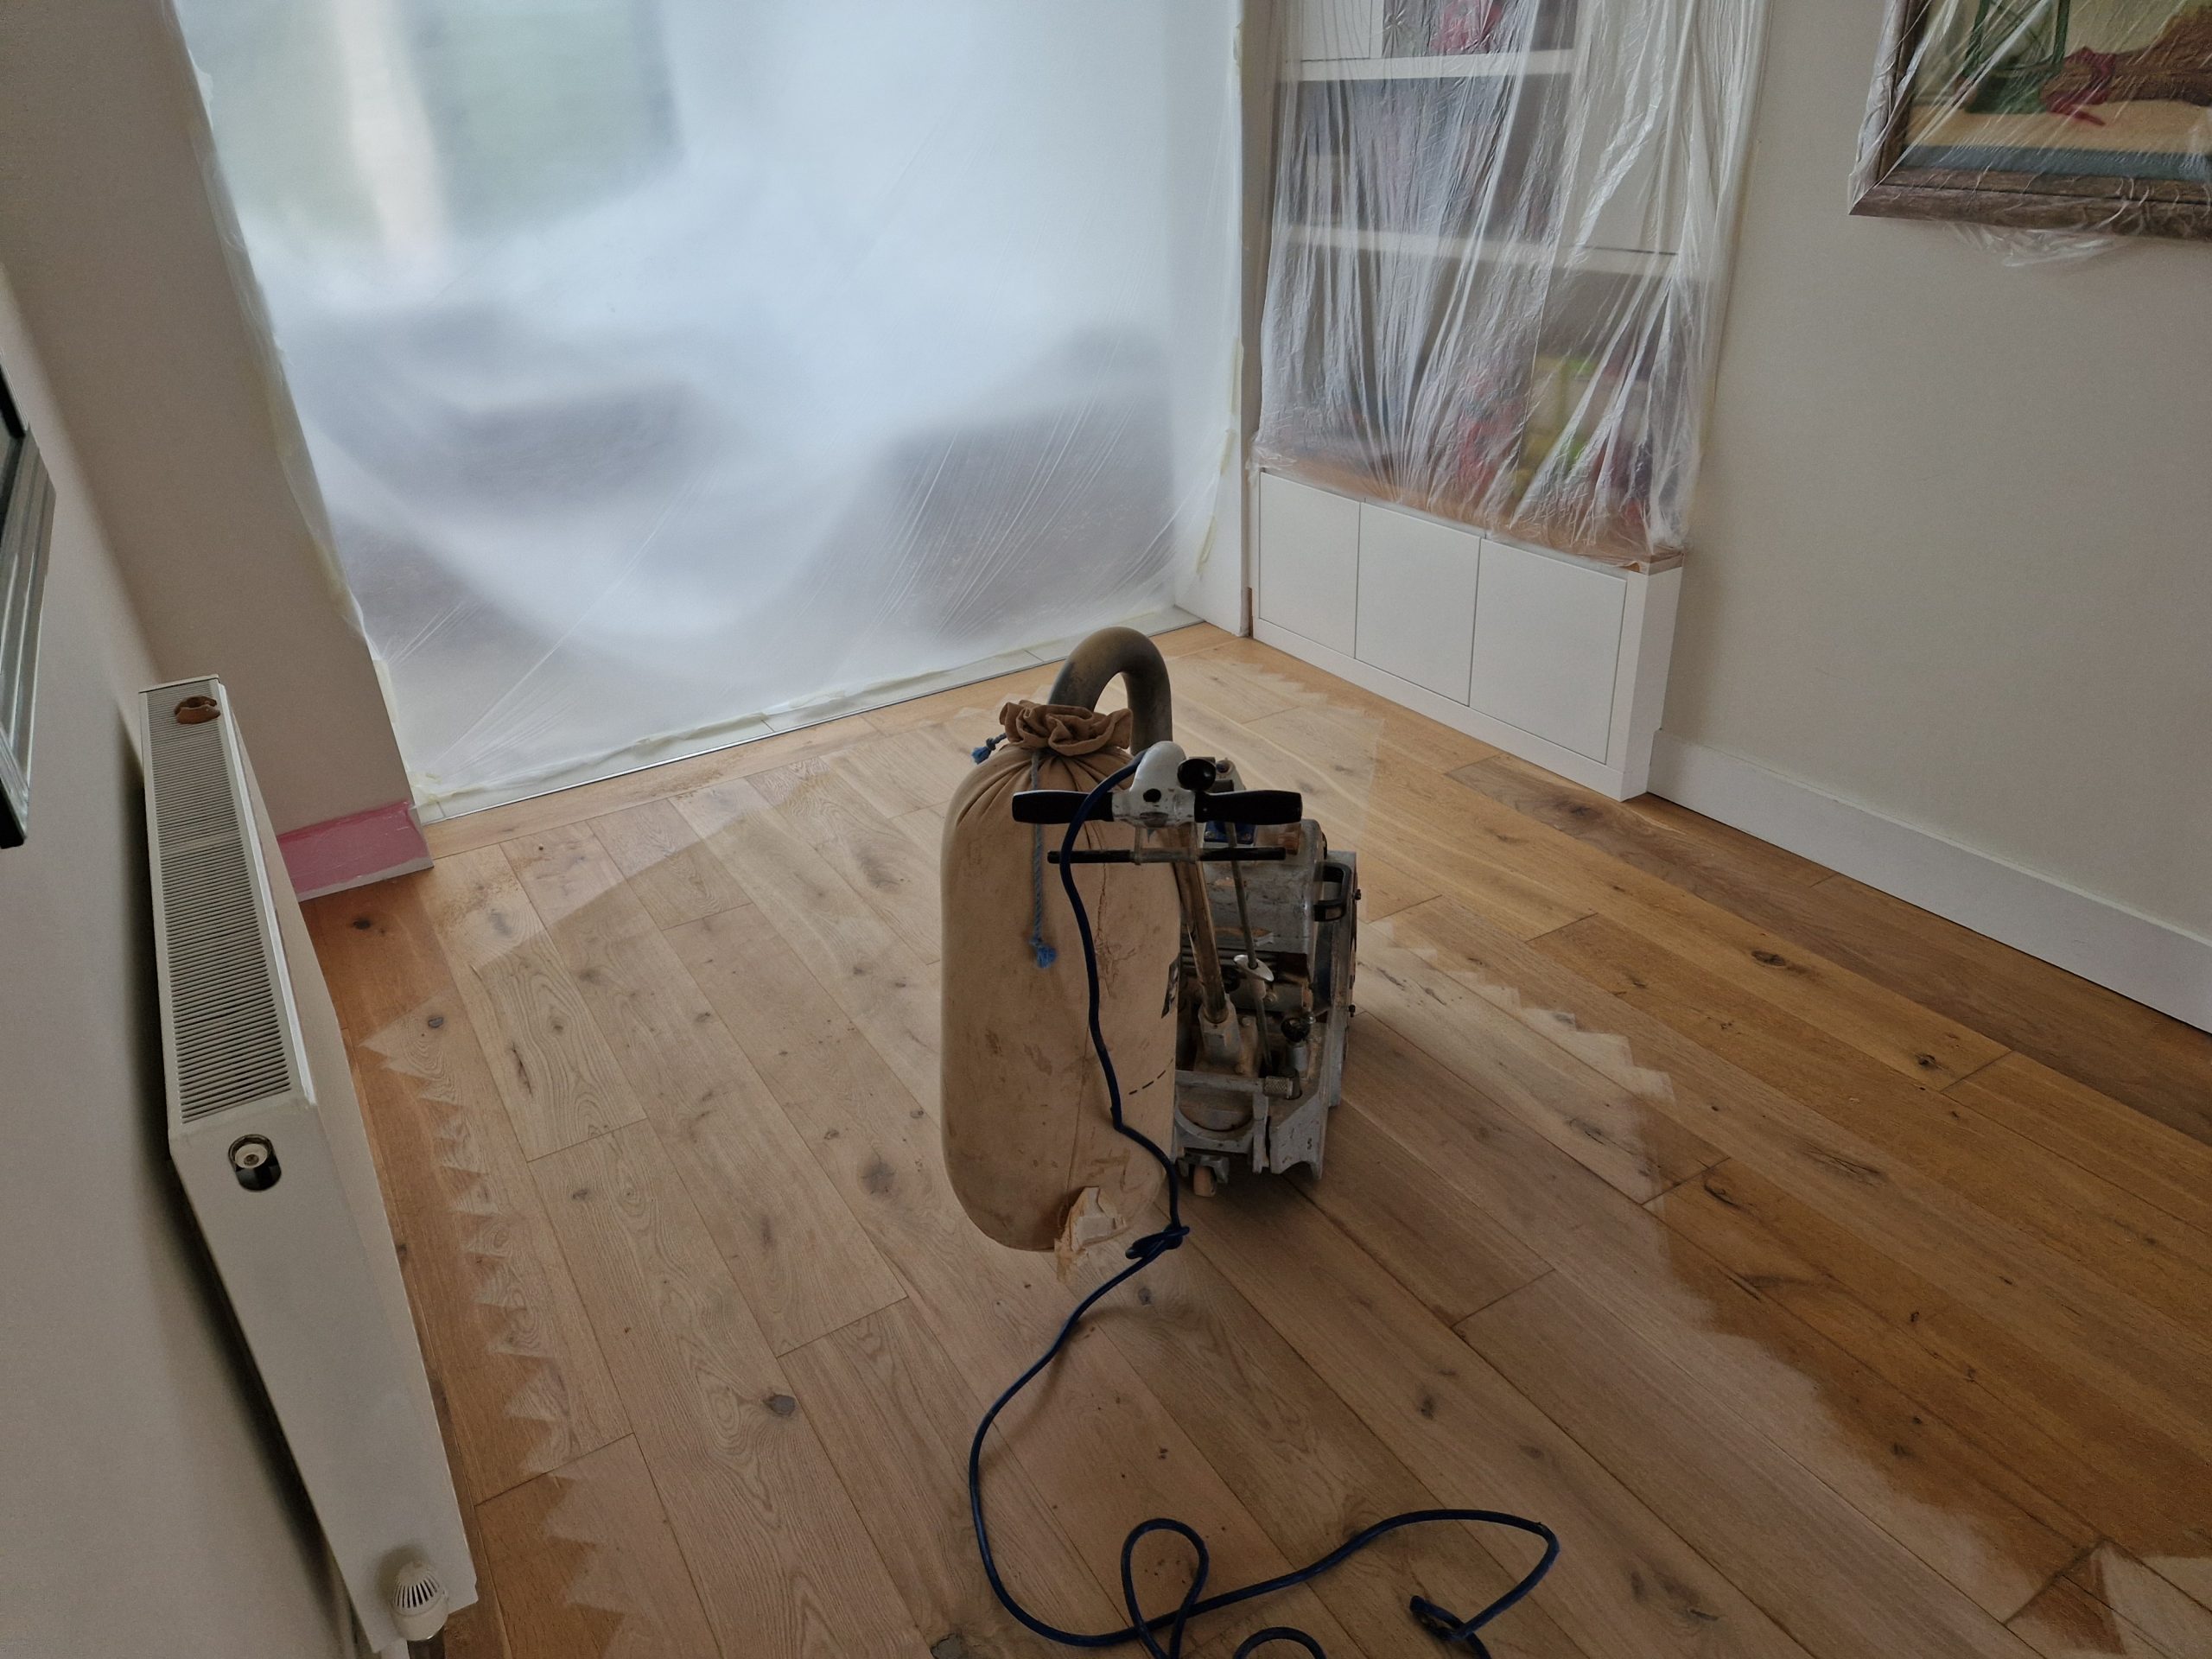
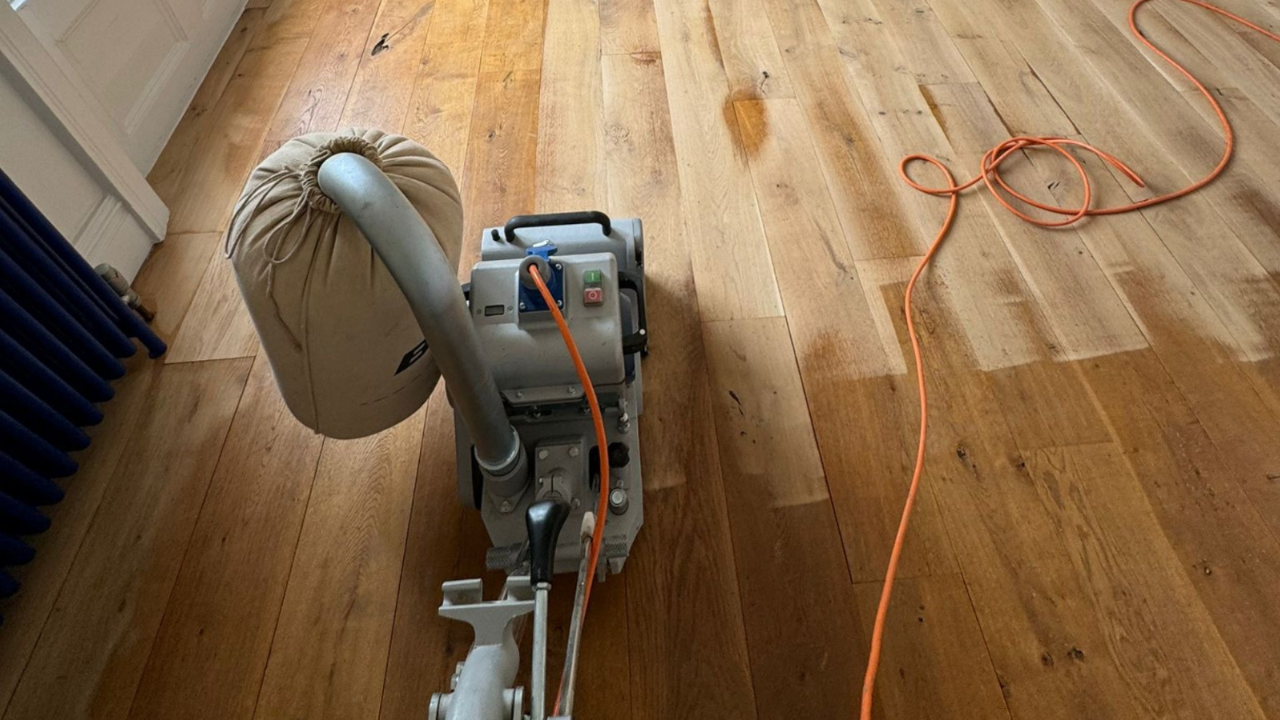
Now for the fun bit—or at least the dusty bit. Floor sanding removes imperfections and creates a smooth, even surface ready for finishing.
Tools of the Trade
- Belt Sander: For large areas.
- Edge Sander: For corners and tight spaces.
- Orbital Sander: For a finer finish.
Technique Tips
- Start with coarse grit sandpaper to remove old finishes and level the surface.
- Gradually move to finer grits for a polished result.
- Sand along the grain of the wood to avoid unsightly scratches.
And don’t rush. Sanding is a skill; patience is your ally.
Step 4: Staining and Sealing – Adding Character and Protection
Once your floor is silky smooth, it’s time to add some personality and protection.
- Staining: If you fancy a change, staining can alter the colour of your wood while highlighting its natural grain. Choose from light, medium, or dark tones to suit your aesthetic.
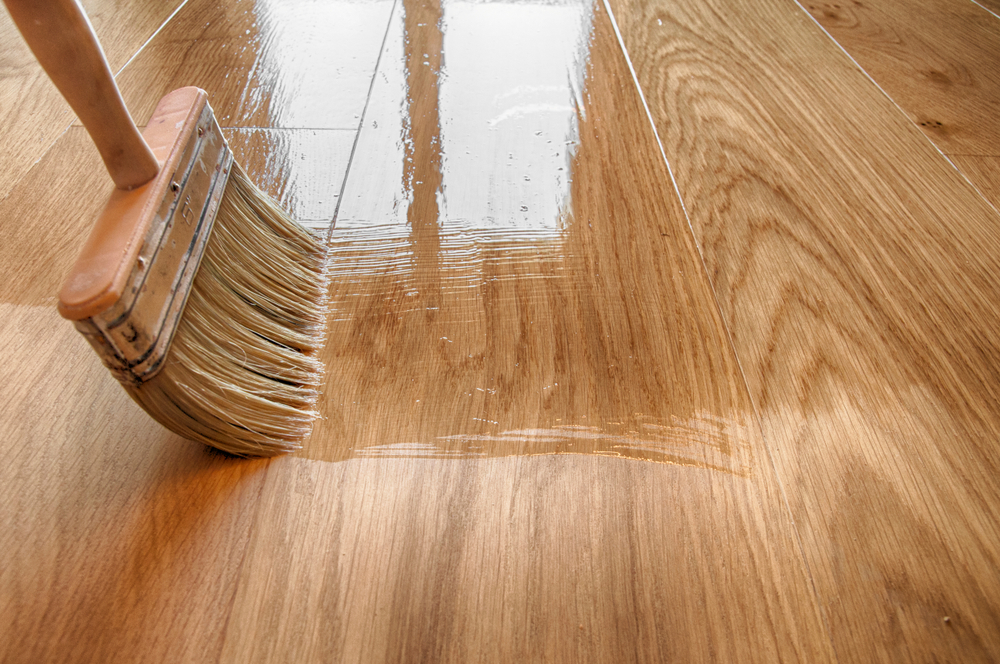
- Sealing: This step is crucial for durability. A good sealant protects your floor from moisture, scratches, and everyday wear. Options include:
- Water-Based Lacquers: Quick-drying and eco-friendly.
- Oil Finishes: Penetrate the wood for a natural look.
- Hard Wax Oils: A blend of the two for the best of both worlds.
Step 5: Finishing Touches – The Devil is in the Detail
Your floor is almost there, but don’t skimp on the final flourishes. Buff the surface for a flawless finish and inspect for any missed spots or imperfections.
Reintroduce furniture gently, and consider using felt pads to protect your newly restored masterpiece.
Why Go Professional?
While a good DIY can be immensely satisfying, there are times when calling in the pros is worth every penny. Here’s why:
- Expertise: Professional floor sanders know their craft inside out. They’ll spot issues you might miss and have the tools to fix them.
- Time-Saving: A job that could take you weeks might take them just days.
- Perfect Results: Let’s face it—nothing beats the polished finish of a professional touch.
Maintenance Matters – Keeping Your Floor Fabulous
So, you’ve invested time, effort, and possibly a chunk of cash into your floor. How do you keep it looking pristine?
- Regular Cleaning: Sweep daily and mop weekly with a wood-friendly cleaner.
- Avoid Water Damage: Wood and excessive moisture are a disastrous combo.
- Protective Measures: Use rugs in high-traffic areas and avoid wearing heels indoors.
Transform Your Home with Stunning Results
Wood floor sanding and restoration isn’t just about aesthetics; it’s about creating a home that reflects your style and values. Whether you tackle it yourself or bring in the professionals, the results are transformative.
So, don’t let those tired floors bring you down. Embrace the process, and watch as your home takes on a new lease of life—elegant, warm, and inviting, just as it should be.